A step-by-step guide to setting up the WLED Web Interface
Connect to WLED Device (Computer – Web Interface)
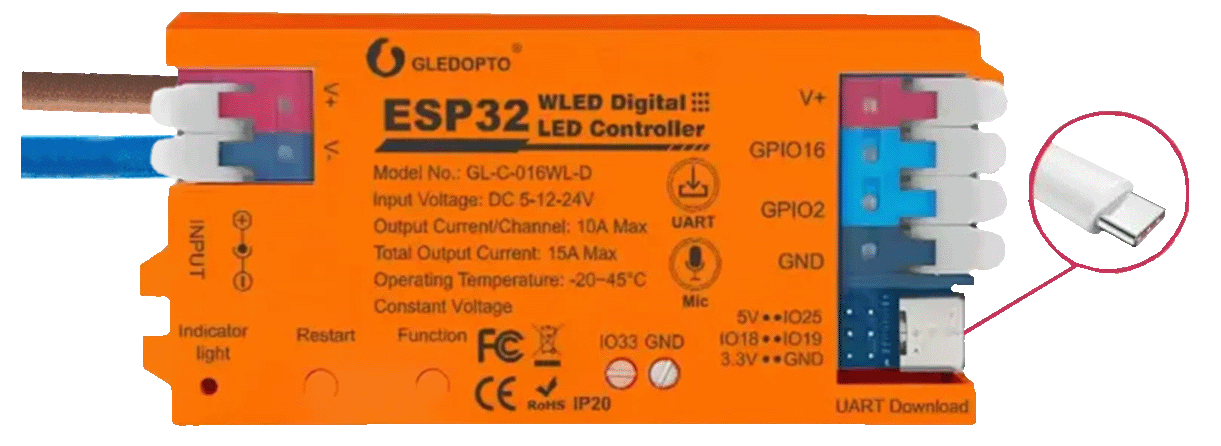
Plug the power supply into your WLED controller (ESP32):
Brown wire = Positive (+) → connect to red terminal on controller.
Blue wire = Negative (–) → connect to black terminal on controller.
For quick setup, you can also connect a USB-C cable into the controller and plug it into your computer or wall outlet.
Images
Initial Wi-Fi Setup
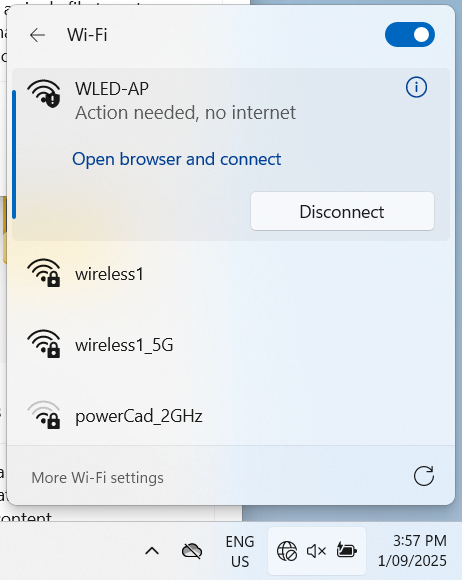
When first powered, WLED creates a temporary Wi-Fi network called WLED-AP.
On your computer, open Wi-Fi settings and connect to WLED-AP.
Default password: wled1234 (all lowercase).
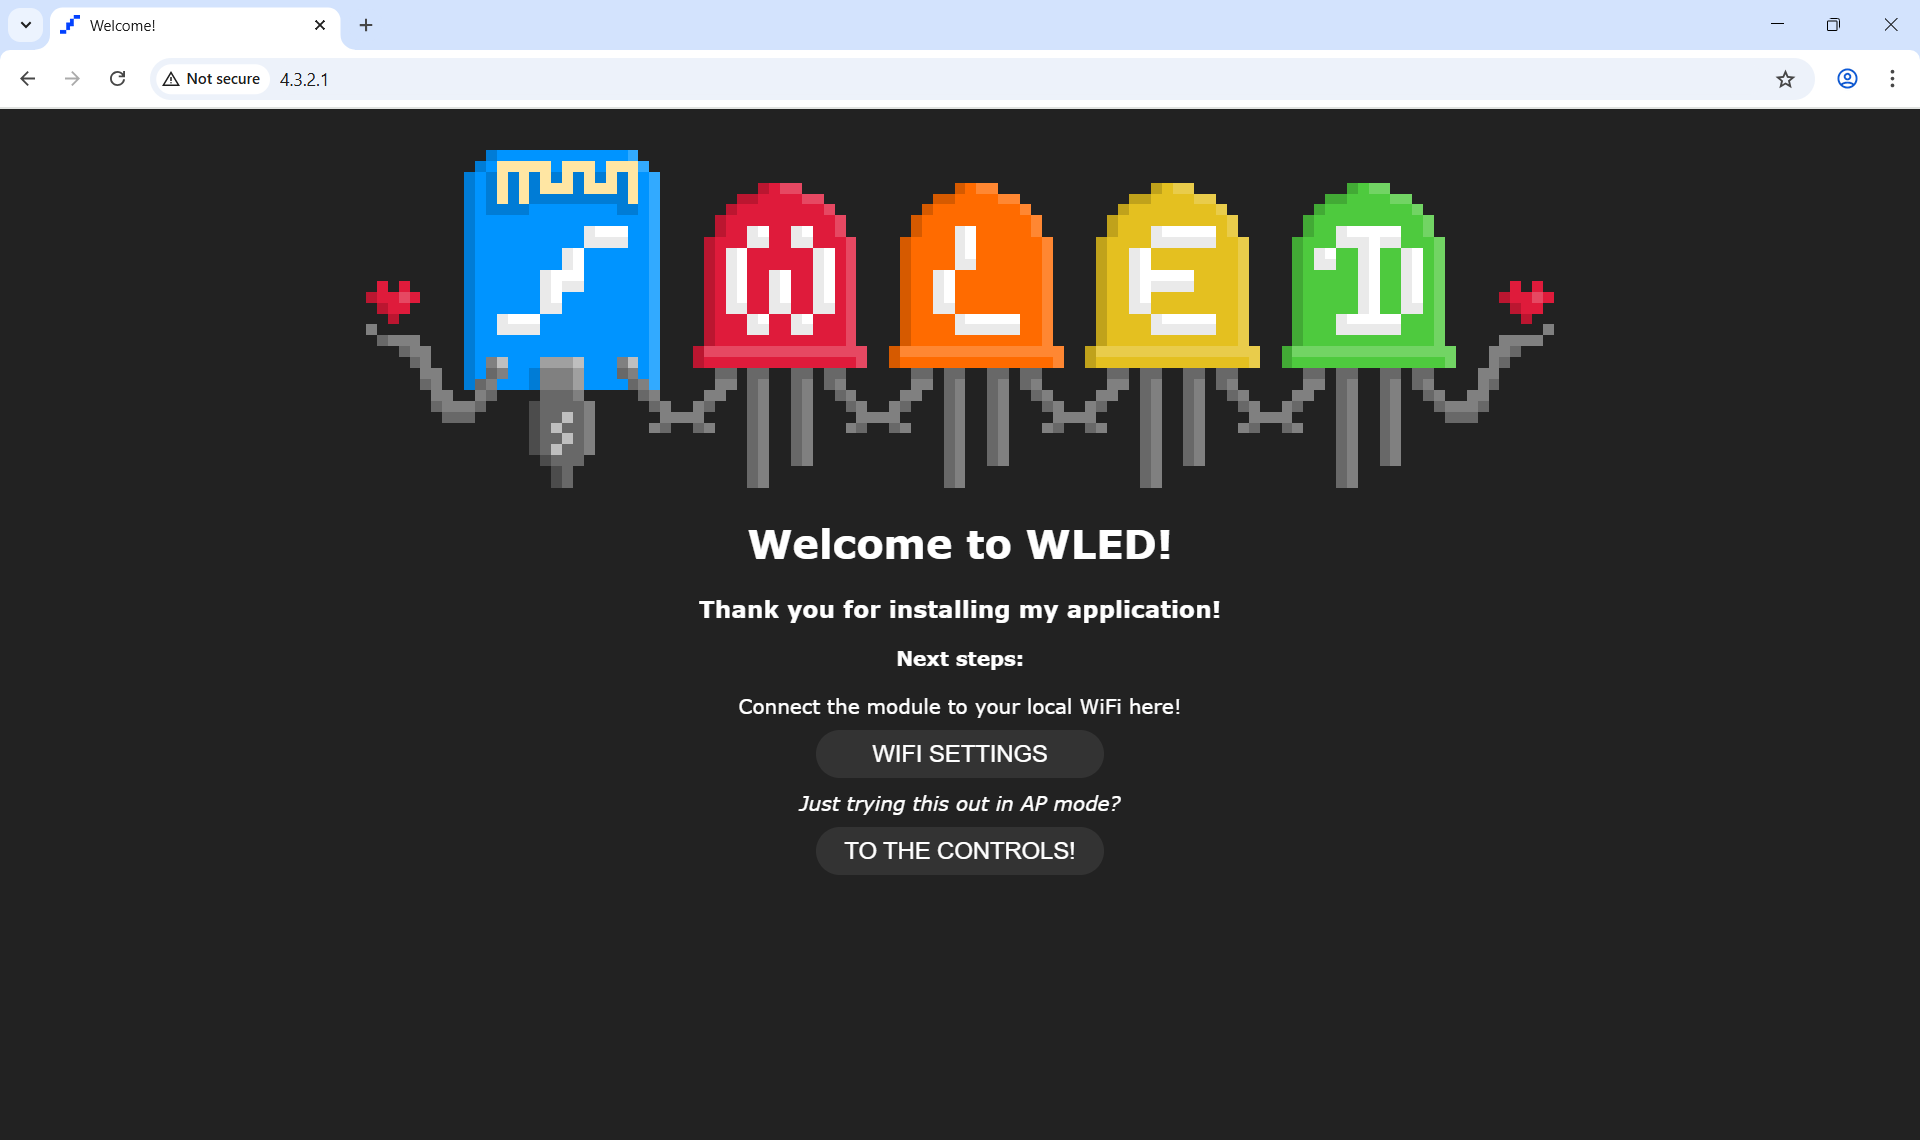
Once connected, your browser should automatically open to http://4.3.2.1.
Images
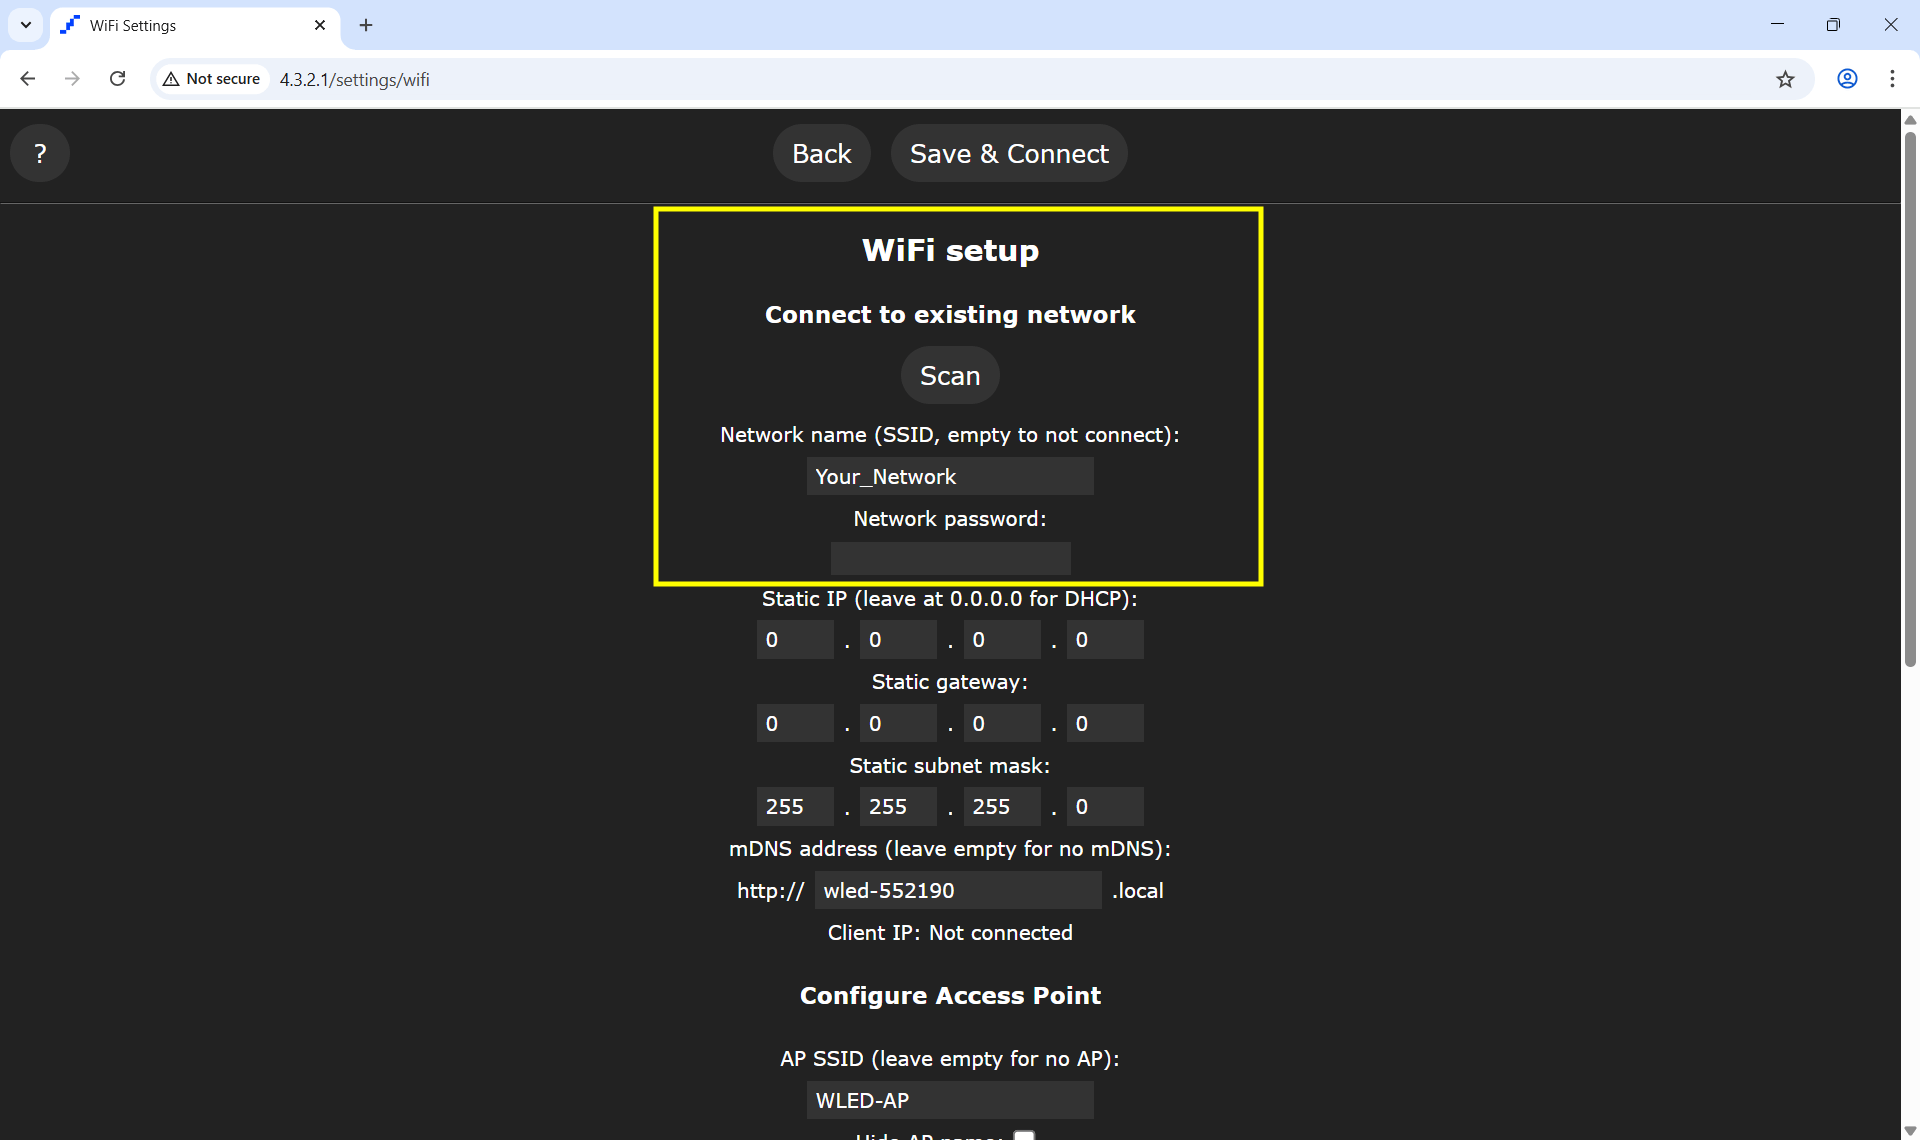
Connect to WLED Device
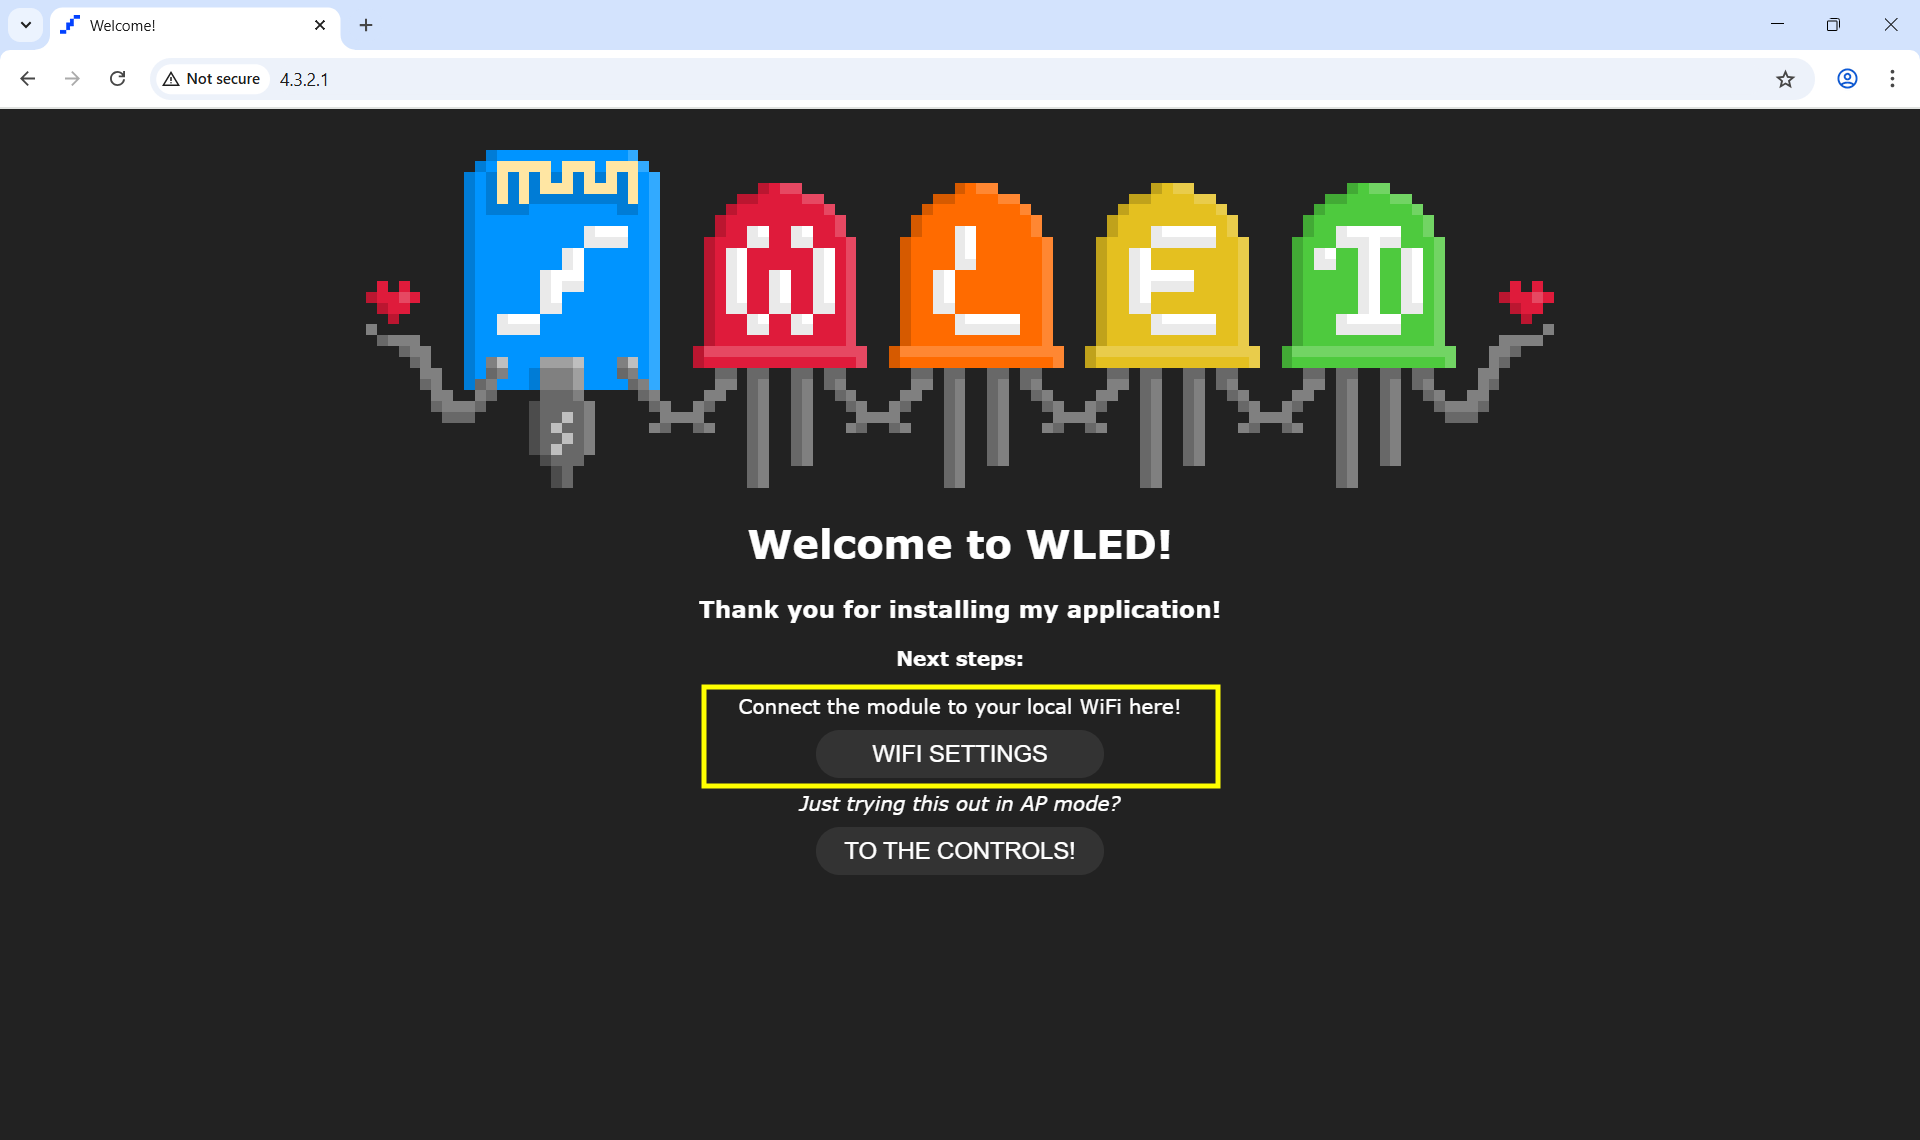
In the web setup screen, go to Wi-Fi Setup.
Click Scan to search for your local Wi-Fi network.
Select your network and enter the password.
If your network does not appear, use the dropdown to select manually.
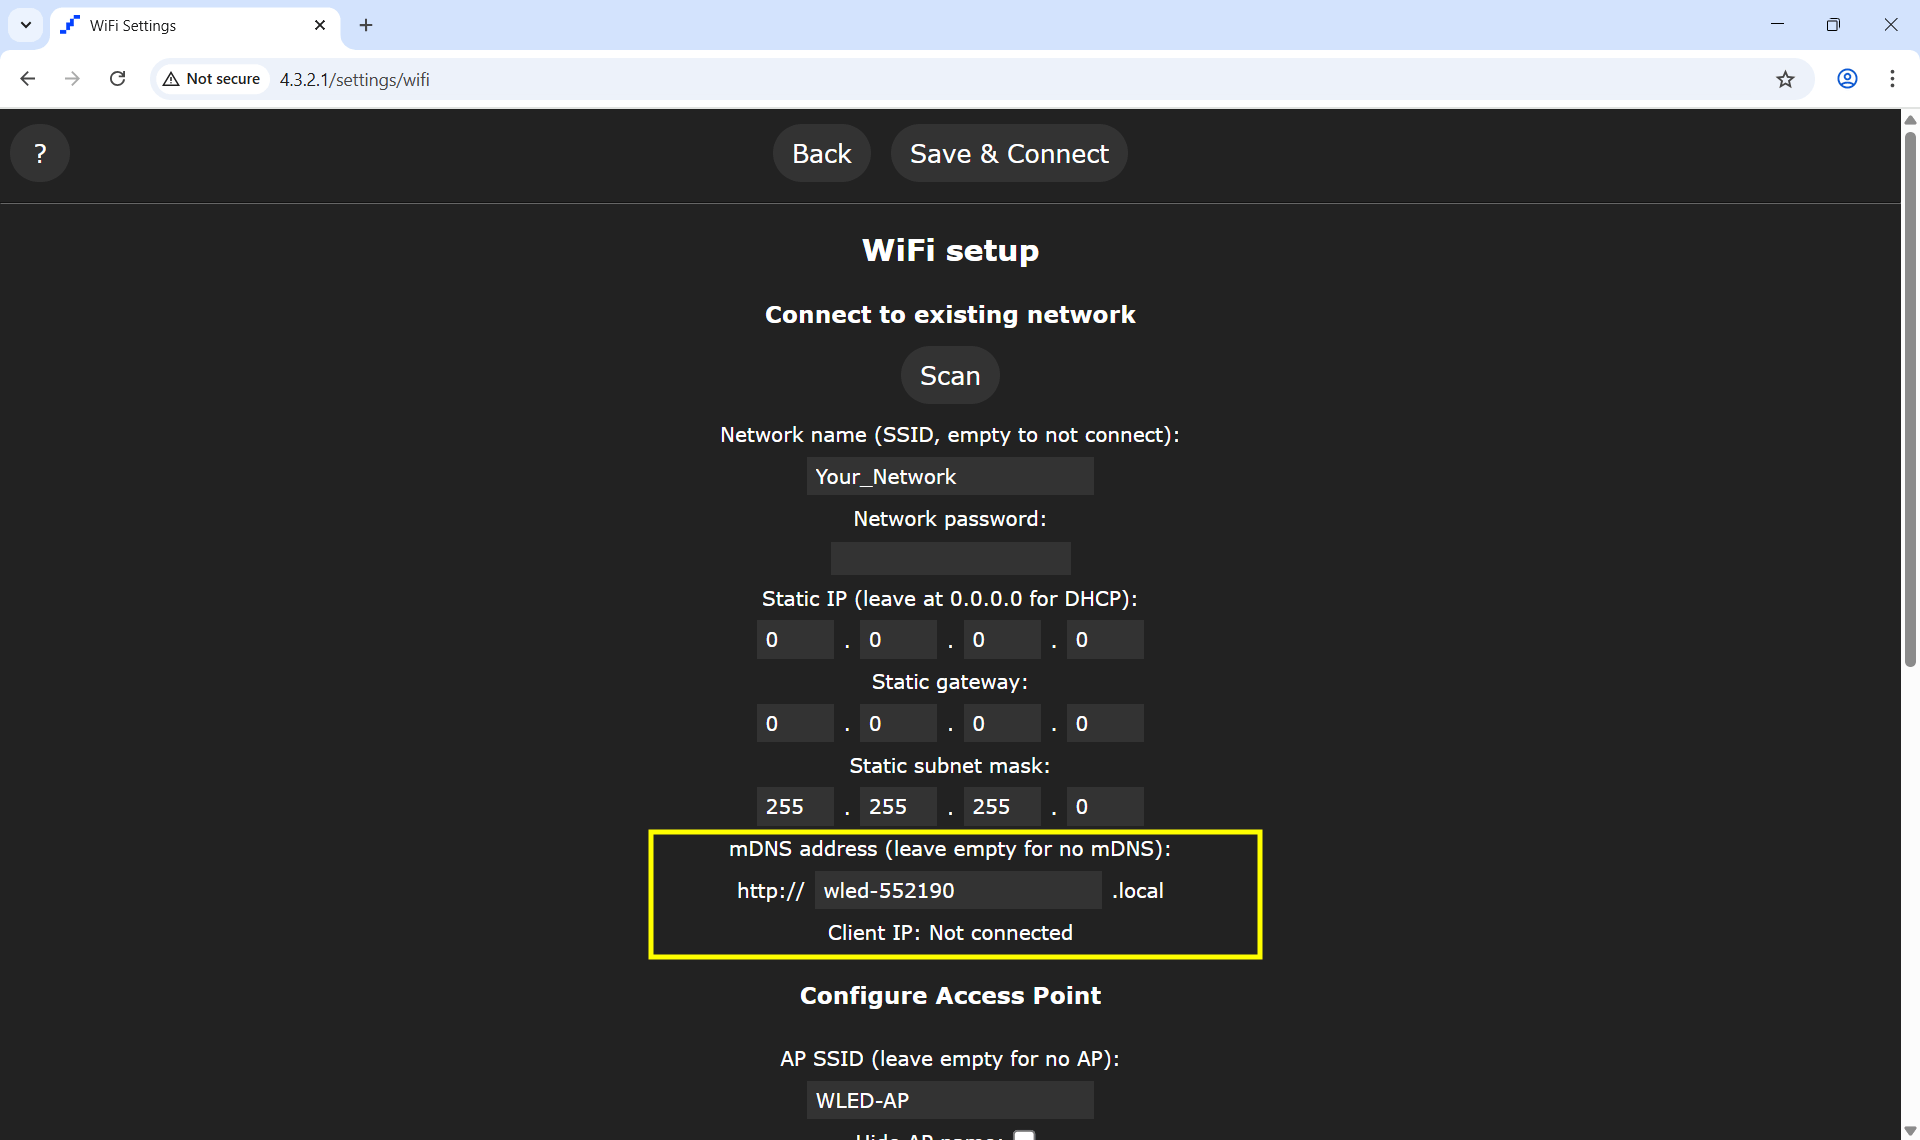
(Optional) Set a custom mDNS address (e.g., http://bedroom-led.local) for easier access in your browser.
Click Save & Connect.
The controller will restart and join your Wi-Fi.
Return to Wi-Fi Setup if you need to check or note the assigned IP address.
Connect to the local network, then enter either your new mDNS address or the IP address into your browser’s URL bar. (The IP address will be generated once the device is connected to Wi-Fi.)
Write down the mDNS name and/or the IP address, the next time you want to connect to it copy that URL into your browser. URLs will always start with http:// and end with .local (e.g.,http://bedroom-led.local)