Getting Started
Wiring Guides & Controller Settings
Getting Started
A step-by-step guide to setting up the WLED Web Interface
Connect to WLED Device (Computer – Web Interface)
Connect the brown wire to the red terminal (+) and the blue wire to the black terminal (–). You can also use a USB-C cable plugged into a computer or wall outlet.
For quick setup, you can also connect a USB-C cable into the controller and plug it into your computer or wall outlet.
Initial Wi-Fi Setup
On your computer, connect to WLED-AP (password: wled1234). A setup page should open automatically in your browser — if it doesn’t, open your browser and go to http://4.3.2.1.
Go to Wi-Fi Setup → Scan, select your home Wi-Fi and enter the password. Set a custom mDNS name (e.g. bedroom-led) then click Save & Connect.
Write down your mDNS address (e.g. http://bedroom-led.local) — next time you want to connect, just type this into your browser.
Reconnect to Your Home Network
Go back to your computer’s Wi-Fi settings and reconnect to your home network.
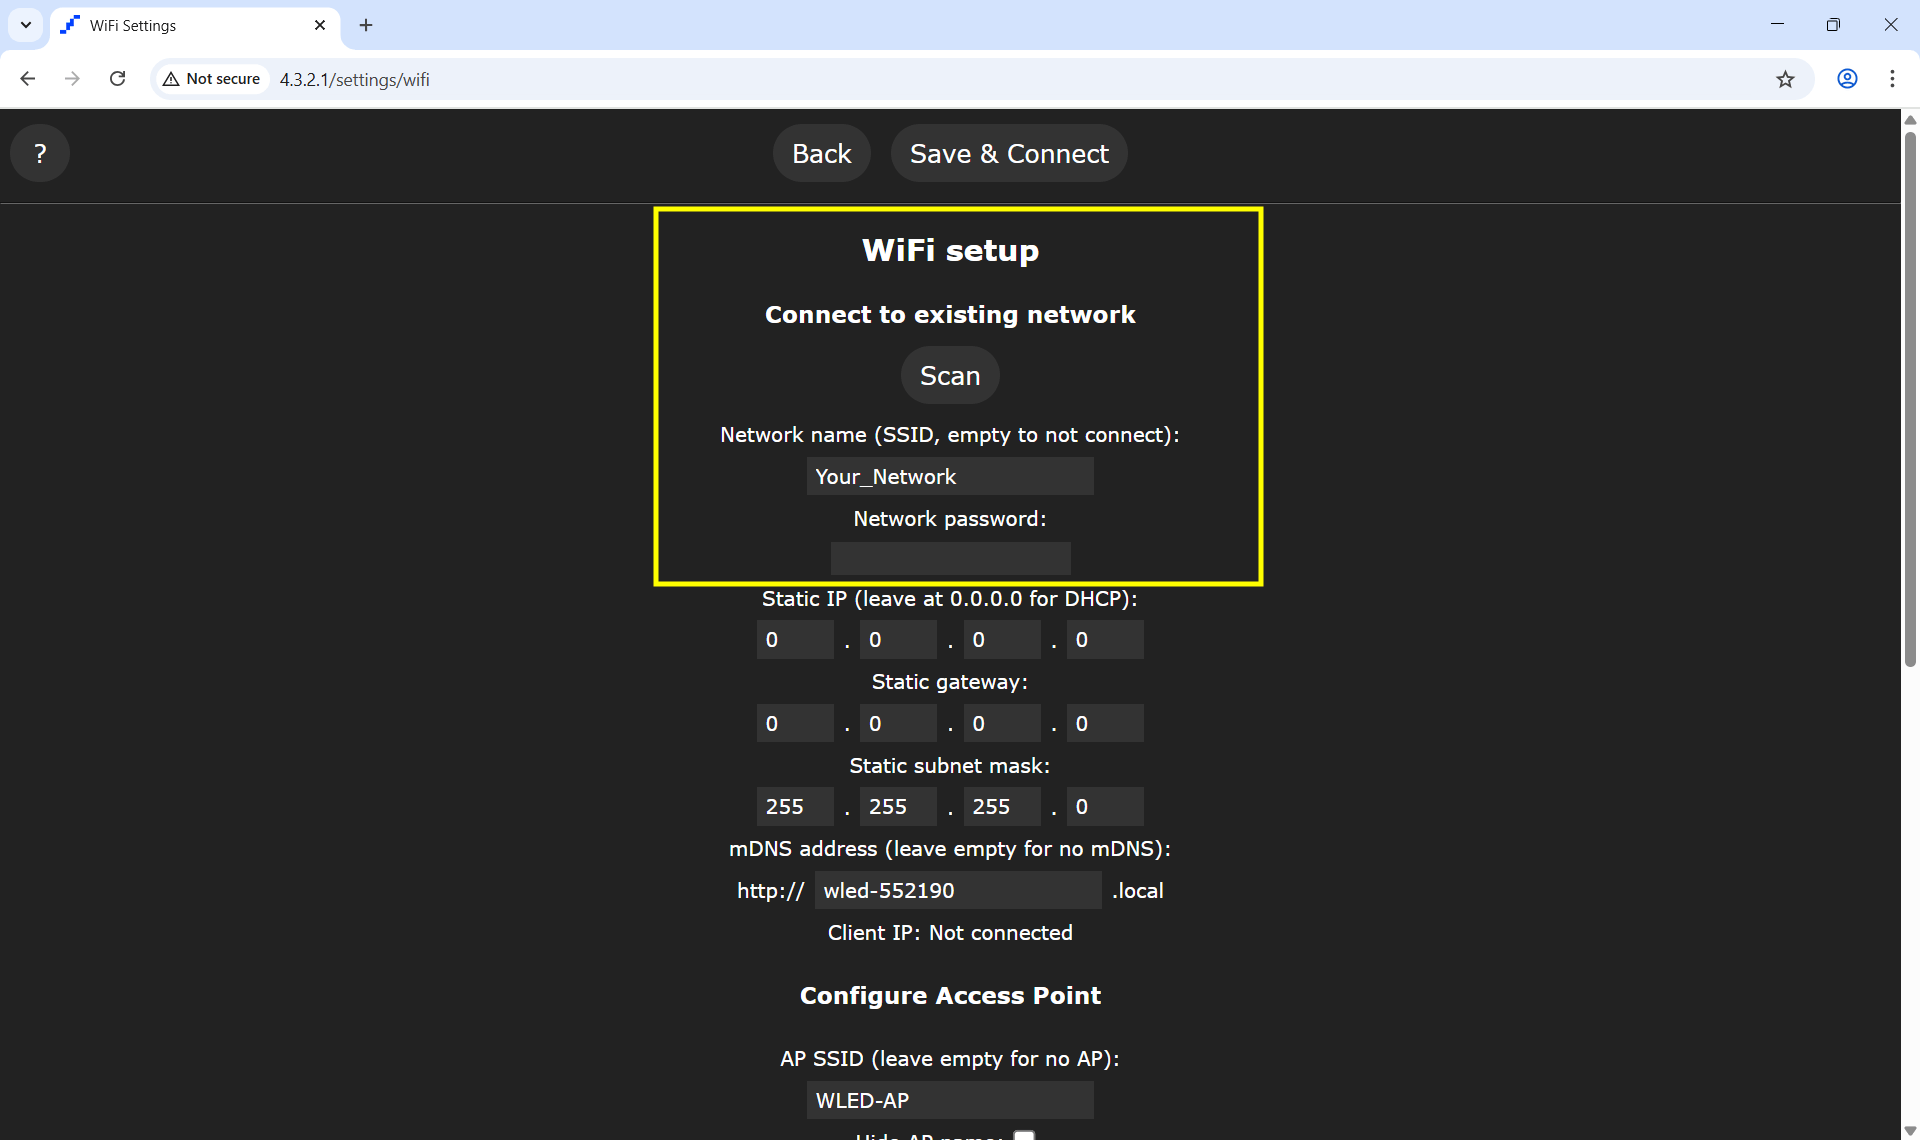
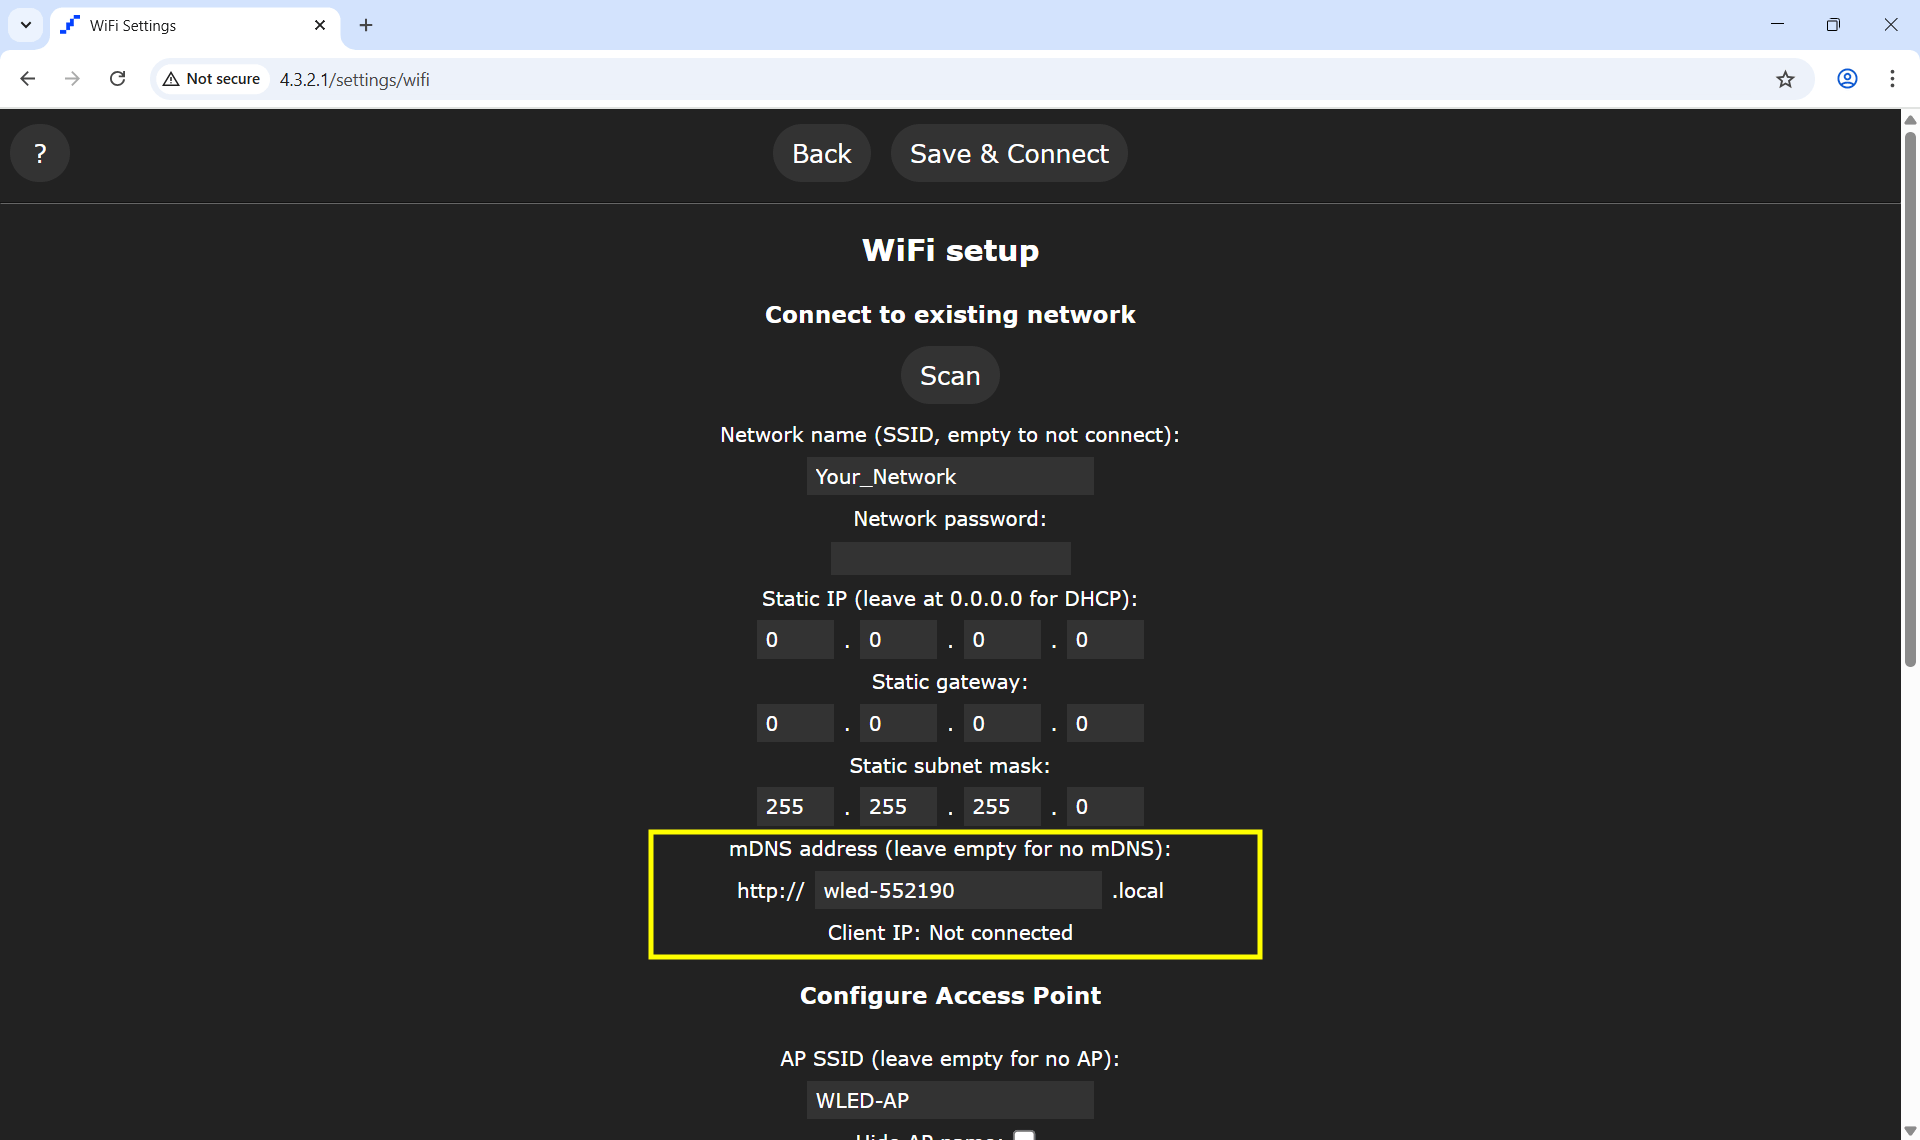
Can’t find the IP address?
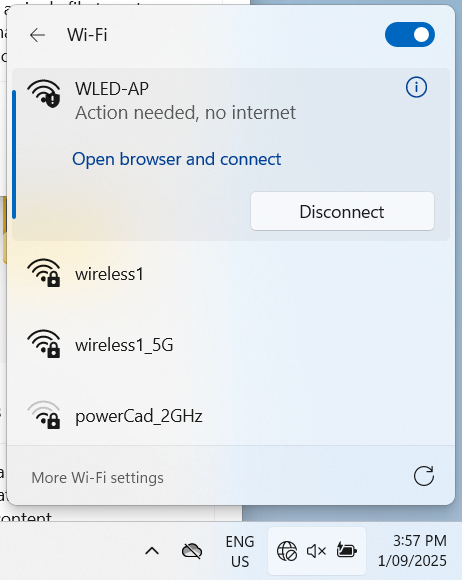
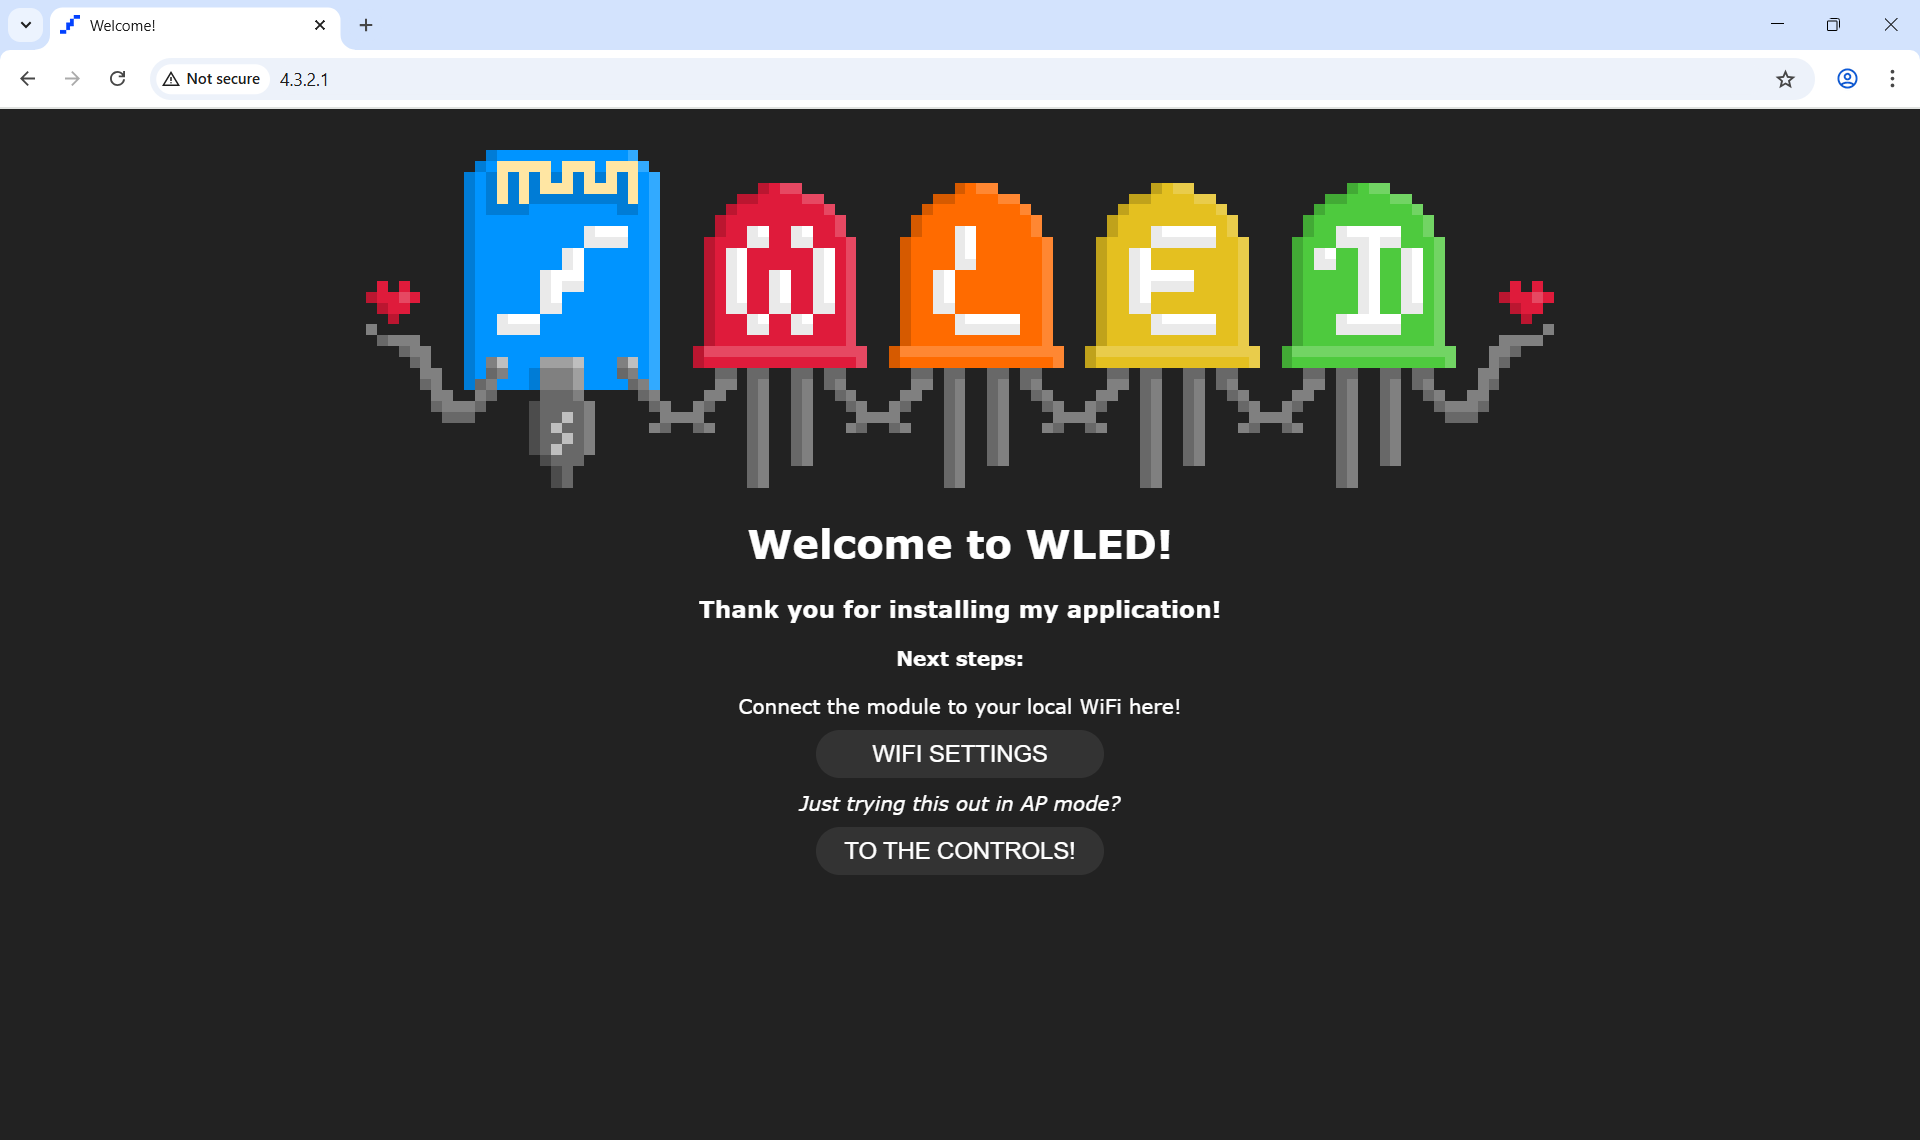
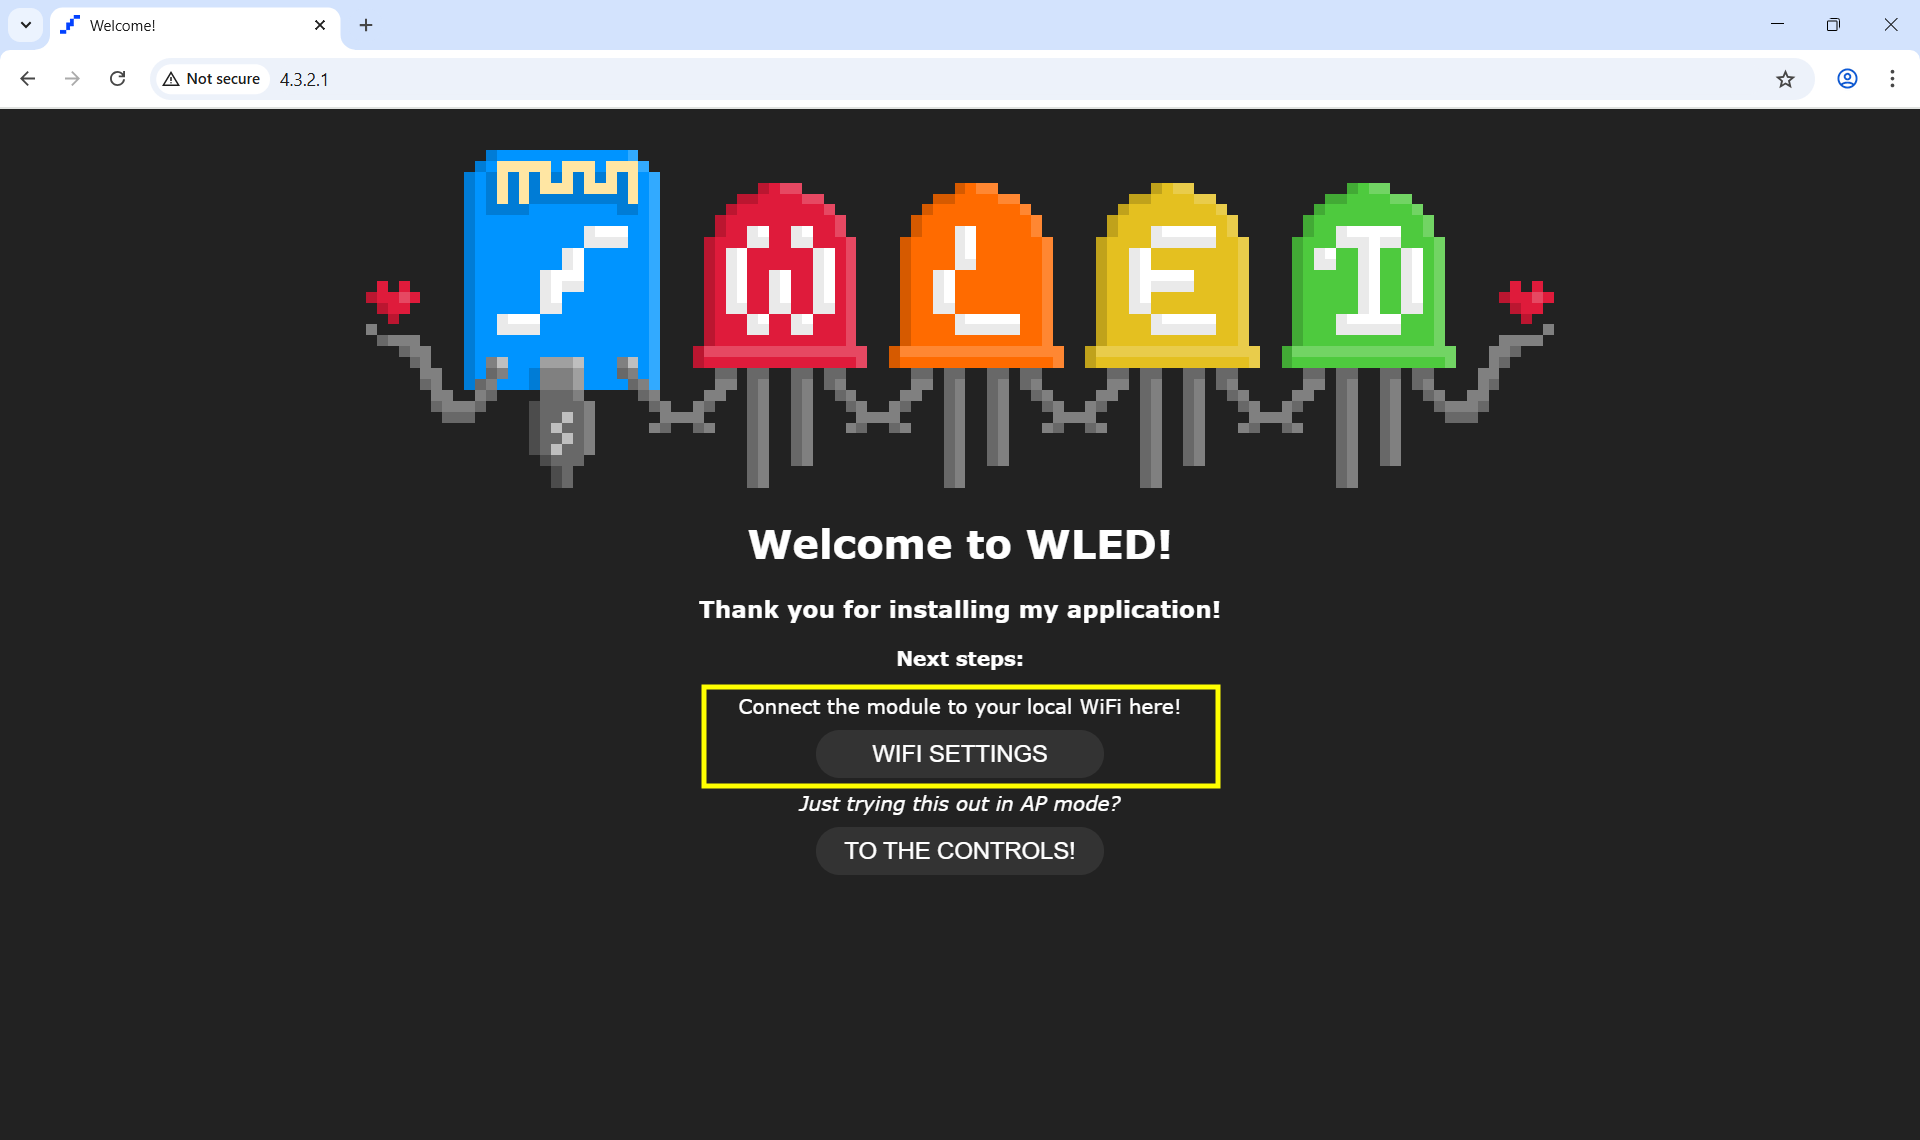
Type your mDNS address into your browser. If it loads, go to Wi-Fi Setup to check your settings. If it doesn’t load, reconnect to WLED-AP and go to http://4.3.2.1 to reconfigure.
Holding the Function button for 10 seconds resets the controller completely, including all Wi-Fi settings. If this happens, start again from Step 2.